
I don't know about you guys but I absolutely love printable patterns! They make sewing projects so simple especially when there are detailed tutorials included. I'd much rather spend $5 or $6 on an etsy designer's work than picking up a discounted Simplicity or McCall's pattern for $1.99. Not to mention, a number of amazing bloggers offer up their patterns for free. (I also think that this is a great way for beginners to experiment a little bit before investing in more complicated patterns.)
That being said, I have downloaded A LOT of patterns and I print them on card stock so I can use them over and over again. Sounds great in theory but then I realized I had an organization problem the other day while I was trying to determine which bodice went with which dress bottom. It was a mess! I eventually figured it out but I spent a good 30 minutes getting all my patterns in order. Then I had an idea... I decided to make a binder for all my printed patterns including the info on where they came from so I can always get back to the tutorials if I need to. Genius! Why hadn't I thought of this before instead of just piling them in my desk all willy-nilly?!
So, I picked up a pretty new binder and matching subject dividers on one of my many trips to Target. (Does anyone else still get really excited about about back to school gear even though they've graduated many years ago?) I almost bought the plain cheap'o stuff but then remembered I'm a grown up and I'll probably have this binder for YEARS sitting on my shelf in my little sewing corner... might as well get something that's pleasing to the eyes!
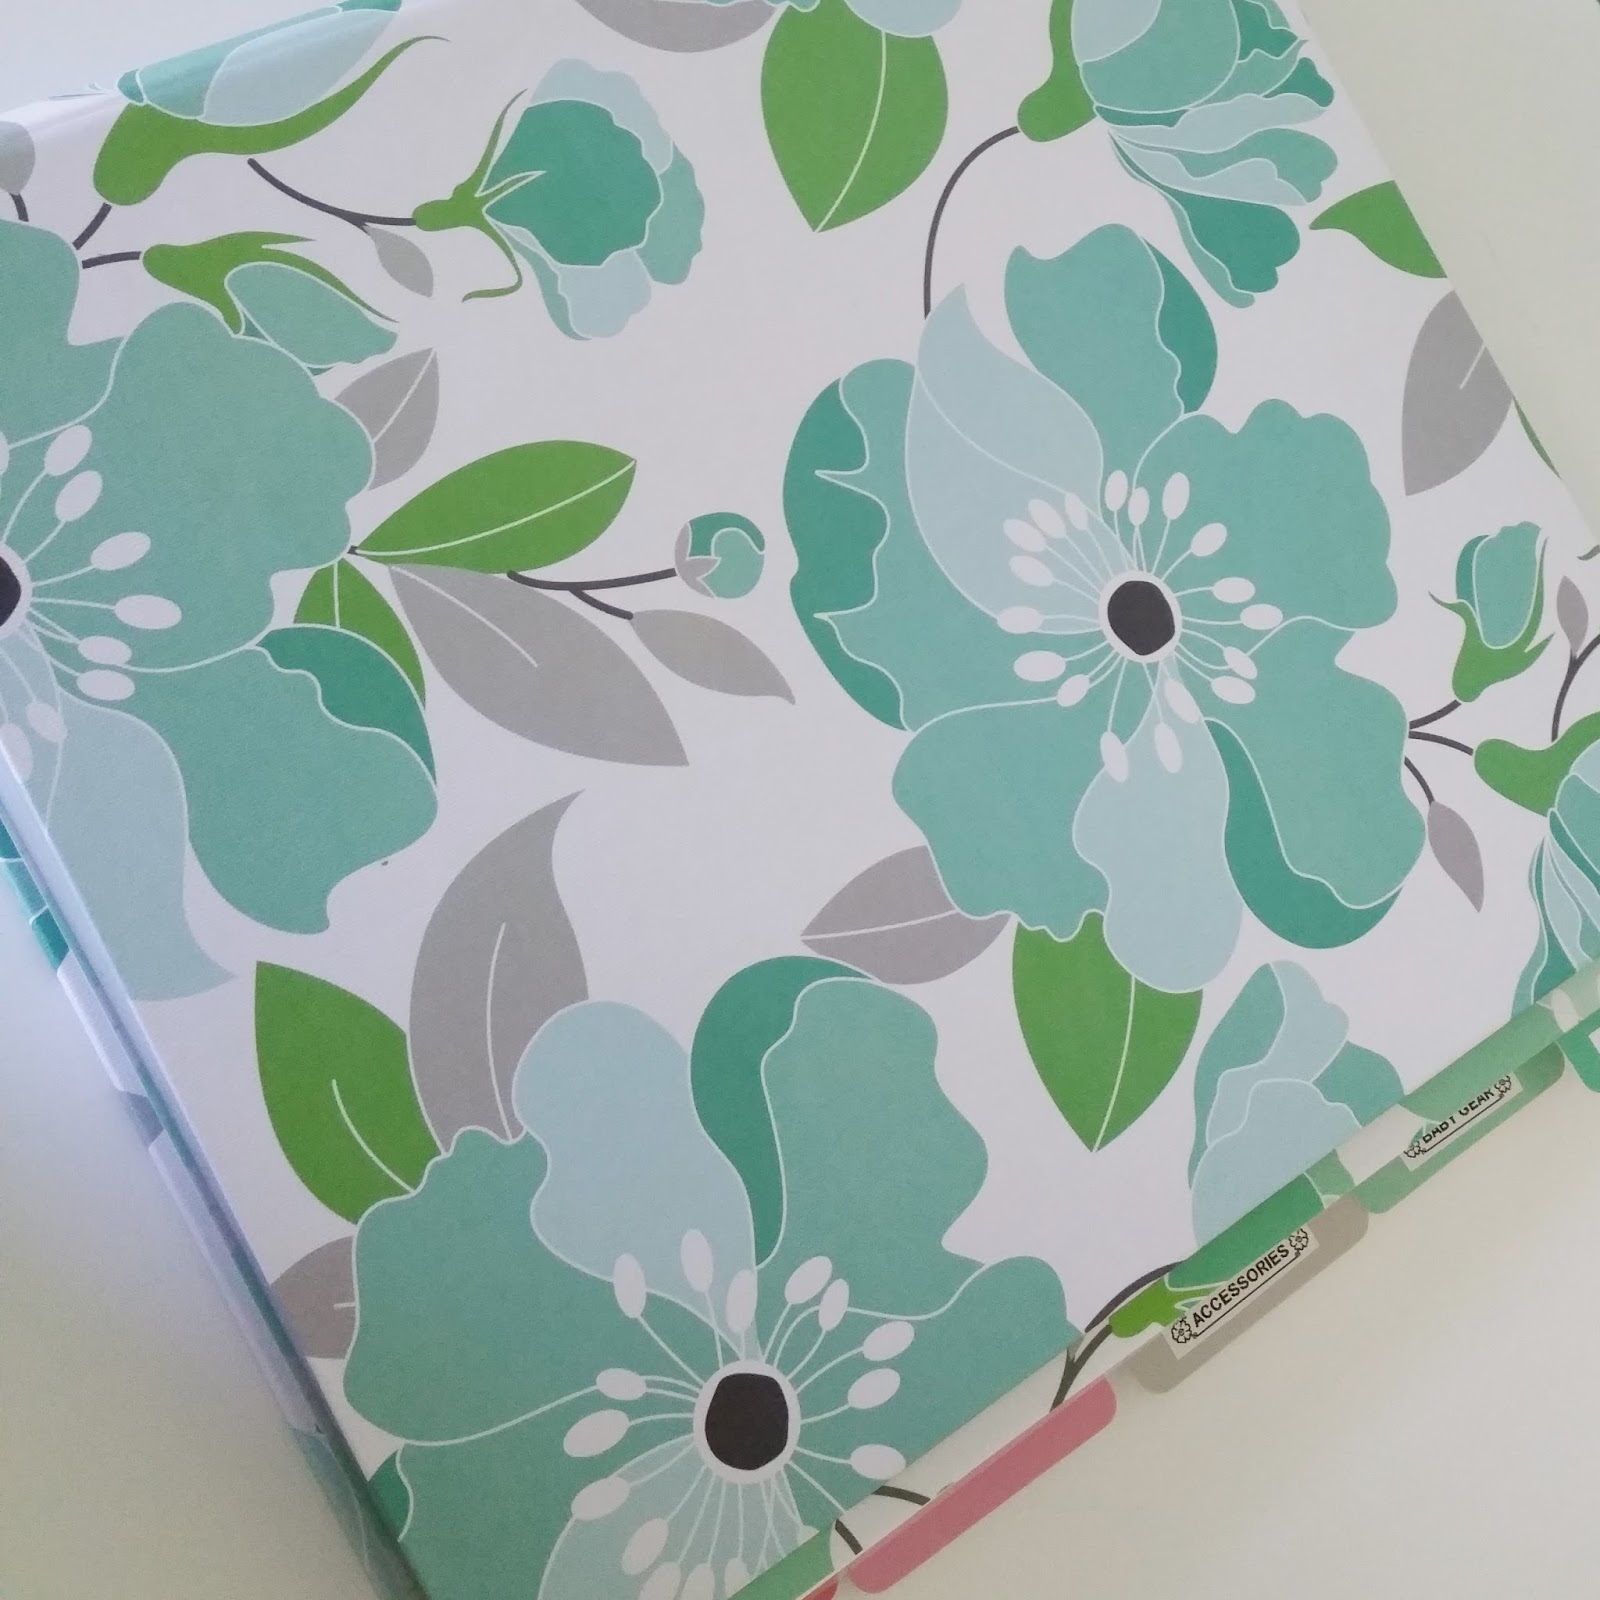 |
| Ooooh, pretty flowers! |
I already had a ton of page protectors from Staples at home that I used to tuck each of my patterns into. Then, using Photoscape, I made little cover pages to slide down into the bottom of each sleeve so I'll know exactly what's in each one. I included a picture of a finished project, where it came from, and wrote what size the pattern is cut to since I have multiple sizes in some things. You could do full pages but I opted to cut them into thirds to save on paper.
 |
| A Cecilia + Jo original... it was drawn instead of printed but you get the idea. |
Once I got that completed, I slipped everything in the binder and I realized I had yet another problem. The page protectors were just as wide as the dividers so I couldn't see the tabs. Grrr! That irked me soooo bad!
Which led me to a little mini project involving card stock, double sided tape, a hole puncher, and my paper cutter. Yes, I really am that obsessive about things! The above picture of the inside of the binder was after I fixed it but here's what I did to make it work.
 |
| Tools of the trade. |
To make my tabs fit, I just cut regular 8.5x11 card stock in half long ways, folded it, and slid the dividers inside just enough to cover the existing holes and held them together with the double sided tape. Then, I trimmed the edge to get the desired width and punched holes using another divider as a guide. And last but not least, I put my label maker to work to whip up some adorable little category tags... they have flowers. :)

I think it came out perfectly and it only took about 15 minutes total. Now all my patterns are at my finger tips and ready to be used on a whim!

Until next time,
Kim

No comments:
Post a Comment